 |
|
|
|
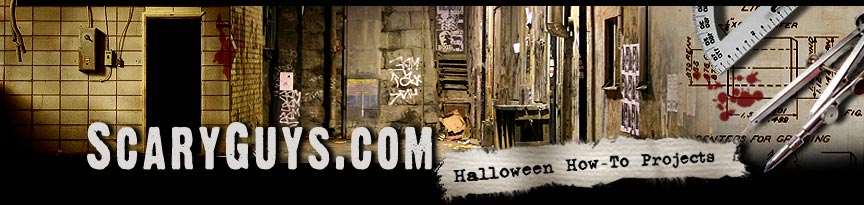
The Giant SpiderThis is a prop from our Halloween party when I really went overboard!
the spider is really nothing more than cardboard boxes covered with chicken
wire and black plastic, added a couple of red light eyes, and 4 inch corrogated
pipe for legs. Some string and 'stretchy web'.... Poof! Big spider.
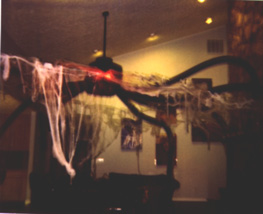 Here's a Picture of the Spider that ate my party! The couches were under the spider, and a couple of us would squirt silly string occasionally at our guests just to make them think the spider was doing it!  Yep, that's me, right before the Spider attacked! The spider is attached to a ceiling fan, minus the blades, of course! Spider PlansHere's the quick version of the plans for my giant spider. It was used
outside the year before this party during one of the rainest and windy-est
Octobers ever.... The BodyI used two cardboard boxes for the basic body. One about 2'x2'x3' (the
big part), and one about 1.5'x1.5'x2' (for the head part). The boxes were
sealed with tape and are attached together with two short pieces of 2x4
on edge (for a basic 'neck'). I used elmer's glue to assemble them. The
entire body was covered with chicken wire. The boxes only act as the the
basic form for the wire. Once the head is wrapped, I used a piece of wire
tightly around the neck to give it shape. The EyesTo make the eyes, I used two small (5") aluminum pie plates between the chicken wire and the box as reflectors. Then I added two plastic outlets and 25watt red bulbs to act as glowing eyes. The wire was fed out of one of the legs. The LegsThe legs are made of 4" corrigated plastic drain pipe. Attach the
legs to the body using 4" couplings. Wire the couplings to the chicken
wire frame. To cover the body, I used plain old black plastic, and just
wrapped and taped it up until the entire body was well covered. Cut out
holes for the leg couplings. For the eyes, cut out jagged holes. MountingAttach the body to whatever mount your'e using (ceiling fan, roof, 2x4, etc). Then cut each leg to length and attach it to the body. Tie down the other end of the leg, plug in eye lights! Adding MotionAdding a bit of animation can be done by mounting the body on a pivot,
then either attach a black string on one end. Pull the string, and the
whole body moves. I used a variable speed electric drill that held a 2x4
with a large bolt to put into the drill at one end, and a connector for
the black string on the other end. When the drill turned (slowly!), the
spider jumped up and down. The drill was triggered by an outdoor motion
sensor. Time and moneyThe entire effect cost about $50 (except for the drill), and took about a half day to build - after I had all the parts. Go for it!Its a simple project, and a crowd pleaser decoration. Let me know if you like it!
NOTE:
Before using any information here, Copyright
© 1995-2008 Myth Adventures, Inc.
|
|
|
|